Tutorial: Securely Embed Doconut Viewer with React – End to End
Embedding a document viewer securely requires more than copying a middleware snippet into an ASP.NET Core application. The integration must define clear boundaries for authentication, document access, session management, rendering, annotations, search, printing, and audit logging.
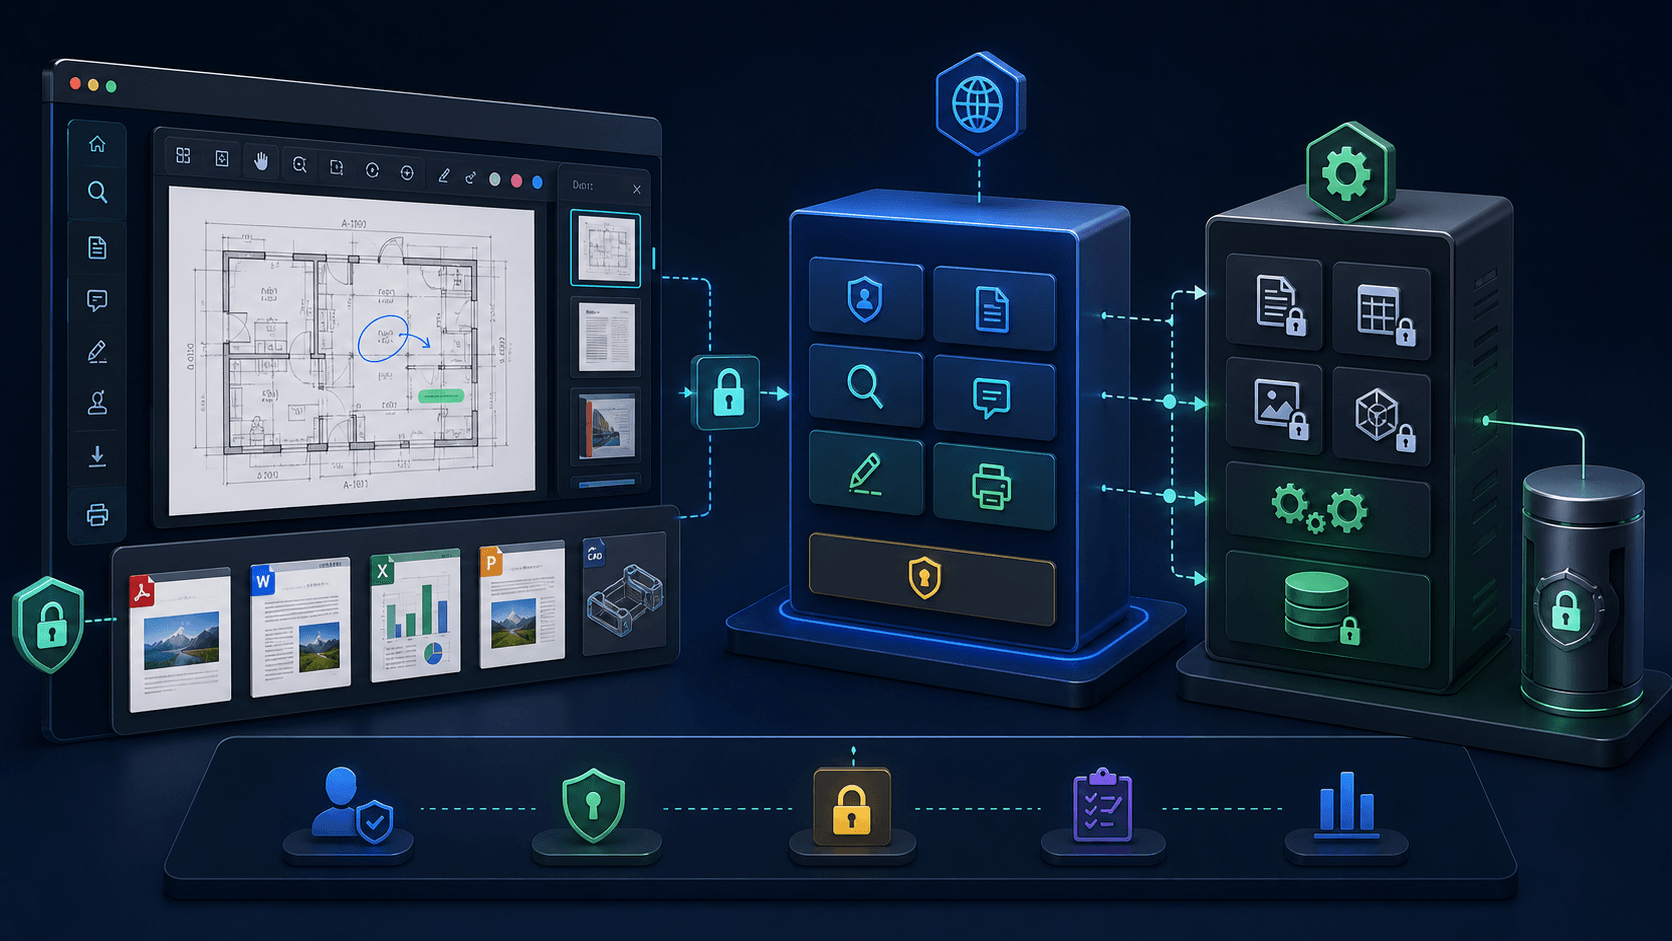
Enterprises building document‑centric portals—such as DMS, CRM, legal review, or engineering drawing applications—also need to keep original files behind the application boundary. Doconut supports a server‑side viewing model for PDF, Office, CAD, and image documents, while a React front end can provide the user interface.
This tutorial focuses on a reliable architecture and deliberately avoids package names, option properties, method signatures, and endpoint paths that may vary between SDK versions. Use the official documentation that matches your licensed version for the exact registration and API details.

1️⃣ Step 1 – Prepare the ASP.NET Core and React Projects
Before you write any code, make sure your development environment satisfies the baseline requirements:
| Requirement | Recommended version |
|---|---|
| .NET runtime | .NET 6 or later |
| ASP.NET Core | 6.0+ |
| IDE | A supported .NET development environment |
| Front‑end (optional) | A React application compatible with your project |
- Create a new ASP.NET Core Web API project
 dotnet new webapi -n DocPortal
 cd DocPortal
-
Add the licensed Doconut dependencies – Obtain the exact package names, versions, native dependencies, and license-loading instructions from the official documentation for your Doconut release. Do not assume that a package or wrapper shown in an unrelated tutorial applies to your version.
-
Prepare the React application – If the viewer will be presented through React, use the front‑end setup already approved by your team. Keep the React application dependent on your own authenticated API rather than on undocumented third‑party wrappers.
-
Commit the initial state – Most enterprise teams enforce a Git policy that requires a signed commit for any change that touches licensing or security settings.
Now you have a clean solution ready for the documented Doconut server integration.
2️⃣ Step 2 – Configure the Server Integration Safely
Register the viewer using the instructions supplied for the exact Doconut version in your project. Middleware order, service registrations, license initialization, and configuration property names are version‑specific details and should not be copied from unverified examples.
Regardless of the SDK version, the surrounding ASP.NET Core application should enforce these controls:
- Authenticate before opening a document – A viewer session must never bypass the application’s identity layer.
- Resolve document identifiers on the server – Accept an application-level document ID, not an arbitrary physical file path supplied by the browser.
- Authorize every operation – Viewing, annotation, search, download, and printing may require different permissions.
- Keep secrets outside source control – Store licenses, connection strings, and encryption material in the approved secret-management mechanism.
- Apply request limits – Set appropriate upload, document-size, timeout, and rate limits around the viewer workflow.
- Record security events – Log access decisions and document actions without writing document contents or sensitive tokens to logs.
Treat all SDK settings as versioned configuration. Confirm their meaning in the official reference before enabling them in production.
3️⃣ Step 3 – Isolate Document Sessions Behind an Application Service
Keep Doconut-specific interactions inside a dedicated application service. References to a Viewer class are useful at the architectural level, but constructor signatures, document-opening methods, cache requirements, and license discovery behavior must come from the documentation for your installed version.
A secure service boundary should:
- Receive an authenticated user and an application-level document identifier.
- Check the user’s permission for the requested action.
- Resolve the document from approved server-side storage.
- Ask the documented viewer API to establish a document session.
- Return only the minimum opaque session information required by the client.
- Release or expire sessions according to your retention and cache policies.
The browser should never receive a physical storage path, license data, internal cache key, or unrestricted reference to the original document.
4️⃣ Step 4 – Enable Annotations, Search and Controlled Printing
Annotations, search, OCR, and controlled printing should be enabled only when they are included in your licensed Doconut configuration and supported by the installed version. Avoid assuming method names, persistence formats, or option classes.
- Annotations – Decide which roles may create, edit, view, or delete markup. Store annotation state according to the persistence guidance for your SDK version and your own audit requirements.
- Search and OCR – Establish which document types require OCR, where extracted text is retained, and how long indexes remain available. Treat search results as document data and authorize them accordingly.
- Controlled printing – Define page limits, watermark policy, approval rules, and audit events at the application level, then map those requirements to the documented printing capabilities.
Keep these operations behind the same application service used for document sessions so controllers remain thin and business rules stay testable.
5️⃣ Step 5 – Connect the React Front End
The React application should call your authenticated ASP.NET Core API rather than accepting storage paths or connecting directly to internal document services. Define your own resource-oriented API contract around business actions and avoid publishing SDK-specific endpoint names as part of the public client contract.
A typical interaction sequence is:
- The user selects a document already visible in the application.
- React requests a viewing session using the document’s application ID.
- ASP.NET Core authenticates the request, authorizes the document, and coordinates the viewer session.
- React receives only the information required to display the viewer.
- Annotation, search, and print requests return through the authenticated application API.
- The server records audit events and expires the session when appropriate.
In the React UI, keep session state short-lived, handle authorization failures explicitly, avoid placing sensitive values in persistent browser storage, and provide loading and error states that do not reveal internal paths or exception details.
This separation keeps rendering and document controls on the server while React remains responsible for presentation and interaction.
Conclusion
By placing the Doconut integration behind a secure ASP.NET Core application service, you can build a document portal for PDF, Office, CAD, and image workflows without coupling the React interface to undocumented SDK details. Authentication, authorization, session lifecycle, search, annotation, printing, and audit policy remain explicit parts of your application design.
Ready to evaluate Doconut for your .NET project? Use the official package, licensing, and API documentation for your selected version, then apply the architecture and security checklist above to your implementation.